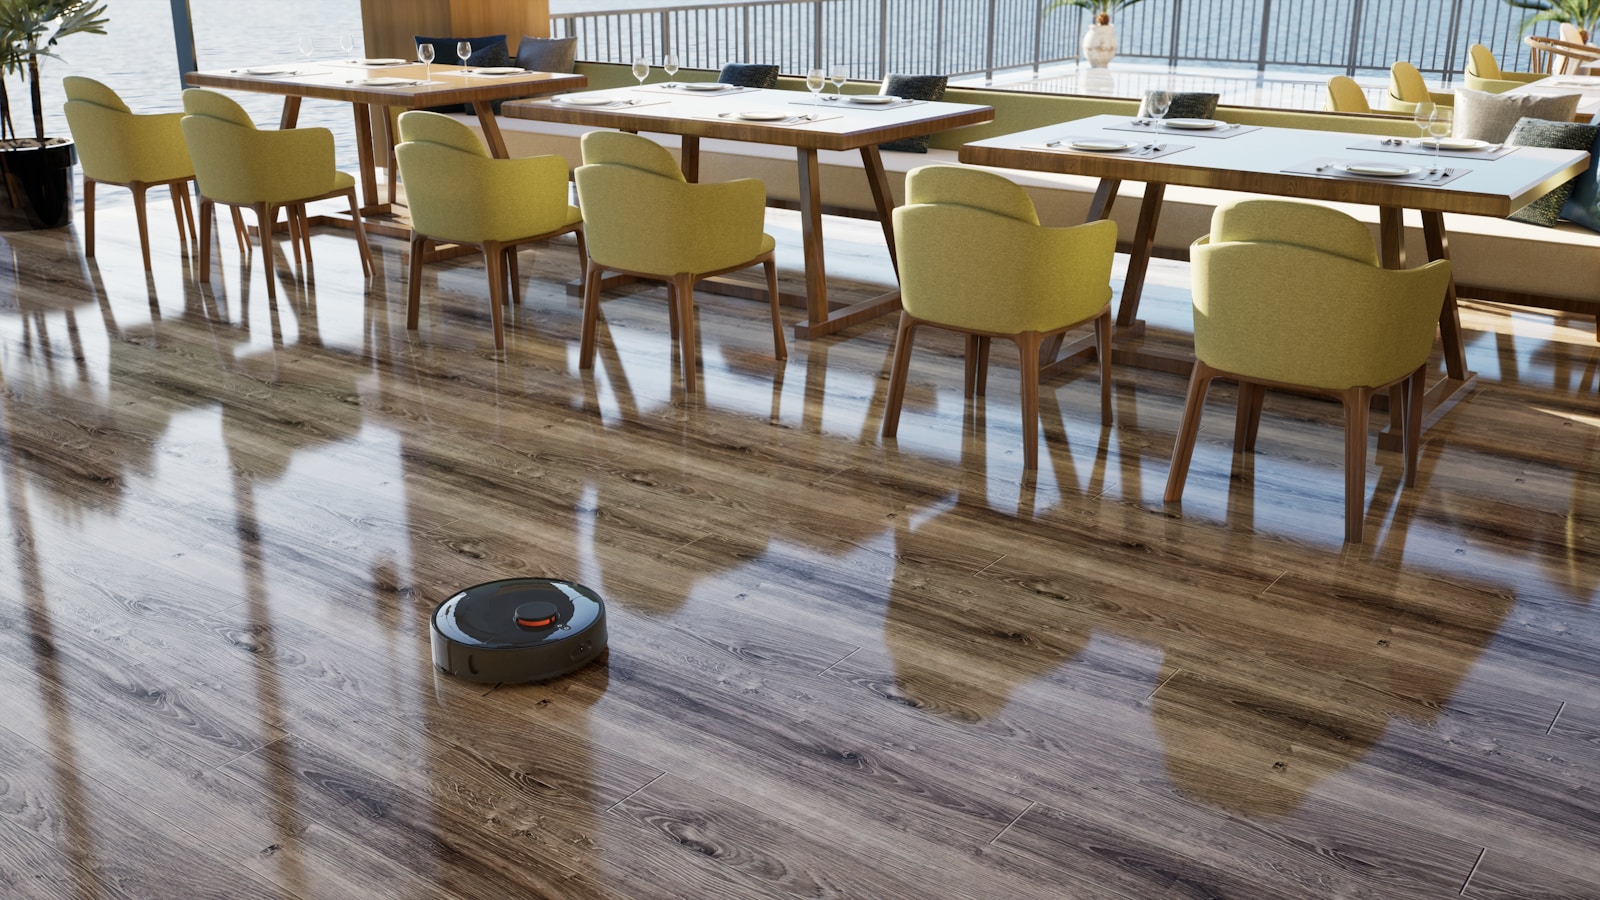
Water damage can be a homeowner’s nightmare, especially when it affects the elegant and valuable hardwood floors. From minor spills to major floods, water can wreak havoc, causing warping, cupping, discoloration, and even mold growth.
However, with prompt action and the right techniques and tools, you can often salvage your floors and restore them to their former glory.
This comprehensive guide will walk you through the entire process, from assessing the damage to final restoration, with specific product recommendations from Amazon to streamline your repair efforts.
Understanding the Enemy: Assessing the Water Damage
Before you begin any repair work, a thorough assessment is crucial. This will help you determine the extent of the damage and the necessary steps to take:
- Identifying the Source:
- Pinpoint the source of the water damage immediately. This could be a leaky pipe, an overflowing appliance, a roof leak, or a natural disaster.
- Fix the source to prevent further damage.
- Classifying the Damage:
- Surface Water: Minimal exposure, often resulting in surface discoloration or slight warping.
- Penetrating Water: Water has seeped into the wood, causing more significant warping, cupping, or buckling.
- Submerged Water: Floors have been submerged for an extended period, leading to severe damage and potential mold growth.
- Timeframe: The longer the water sits, the more severe the damage.
The Repair Process: A Step-by-Step Approach
-
Immediate Water Removal and Drying:
- Standing Water Removal:
- Use towels, mops, or a wet vacuum to remove standing water as quickly as possible.
- Amazon Recommendation: The Shop-Vac 5989300 8-Gallon Stainless Steel Wet/Dry Vacuum is a powerful and reliable choice for this task. Its large capacity and robust suction make it ideal for handling large volumes of water.
- Air Circulation:
- Increase air circulation by opening windows and using fans to expedite the drying process.
- Dehumidification:
- Use dehumidifiers to remove moisture from the air and the wood.
- Amazon Recommendation: The hOmeLabs 4,500 Sq. Ft Energy Star Dehumidifier is a highly efficient option that can remove significant amounts of moisture from large areas.
- Drying Time: Allow sufficient drying time, which can range from several days to weeks, depending on the severity of the damage.
- Standing Water Removal:
-
Inspection and Damaged Plank Removal:
- Inspection: Once the floors are dry, inspect them for signs of damage, such as warping, cupping, buckling, or discoloration.
- Plank Removal: Remove severely damaged planks using a pry bar or chisel.
- Amazon Recommendation: The DEWALT DWHT55524 3-Piece Chisel Set is a durable and reliable set of chisels that can help you remove damaged planks with precision.
- Marking: Mark the damaged areas to ensure you replace the correct planks.
-
Subfloor Evaluation and Repair:
- Inspection: Inspect the subfloor for moisture damage, mold growth, or rot.
- Drying: If the subfloor is wet, allow it to dry completely before proceeding.
- Repair/Replacement: Repair or replace any damaged sections of the subfloor.
-
Plank Replacement and Finishing:
- Matching: Obtain replacement planks that match the existing flooring in terms of wood type, grain, and finish.
- Acclimation: Allow the new planks to acclimate to the room’s temperature and humidity for several days.
- Installation: Install the new planks using the appropriate installation method (nail-down, glue-down, or floating).
- Finishing: Sand and finish the new planks to match the existing flooring.
-
Addressing Minor Damage:
- Cupping/Buckling: For minor cupping or buckling, place heavy weights on the affected areas to flatten them.
- Discoloration: For surface discoloration, lightly sand the affected areas and apply a matching finish.
- Waxing: For minor surface damage to waxed floors, re-wax the area.
-
Mold Prevention and Remediation:
- Prevention: Ensure proper ventilation and moisture control to prevent mold growth.
- Remediation: If mold is present, use a mold-killing solution.
- Amazon Recommendation: Concrobium Mold Control Fogger is a highly rated product that eliminates mold and prevents its regrowth.
- Professional Help: For extensive mold growth, consult a professional mold remediation service.
-
Final Restoration:
- Cleaning: Thoroughly clean the repaired areas.
- Polishing: Polish the floors to restore their shine.
- Inspection: Conduct a final inspection to ensure the repairs are satisfactory.
Preventing Future Water Damage:
- Regular Inspections: Regularly inspect plumbing fixtures and appliances for leaks.
- Moisture Barriers: Install moisture barriers in areas prone to moisture, such as bathrooms and kitchens.
- Prompt Spill Cleanup: Immediately clean up spills to prevent water from seeping into the floors.
- Humidity Control: Maintain consistent humidity levels in your home.
- Proper Drainage: Ensure proper drainage around your home’s foundation.
Professional Assistance:
- For extensive water damage or complex repairs, it’s best to consult a professional hardwood floor repair service.
By following this comprehensive guide and utilizing the recommended products from Amazon, you can effectively fix water-damaged hardwood floors and restore their beauty and functionality.
