Embarking on a DIY hardwood floor installation can be a significant and rewarding home improvement project. However, it requires careful planning, preparation, and execution. Here’s a comprehensive guide to help you navigate the process successfully:
1. Planning and Preparation: The Foundation of Success
- Accurate Measurement:
- Begin by precisely measuring the room’s length and width. Multiply these measurements to determine the square footage.
- Add an extra 5-10% to account for waste from cuts and potential mistakes.
- Subfloor Evaluation:
- The subfloor’s condition is critical. Ensure it’s:
- Clean: Remove all debris, nails, staples, and old adhesive.
- Dry: Check for moisture using a moisture meter. Address any moisture issues before proceeding.
- Level: Use a level to identify uneven spots. Level them with a self-leveling compound or by sanding down high areas.
- Secure: Screw down any loose subfloor boards.
- The subfloor’s condition is critical. Ensure it’s:
- Acclimation:
- Hardwood flooring adapts to its environment. Allow it to acclimate for 48-72 hours in the room where it will be installed.
- This prevents warping, shrinking, or expanding after installation.
- Underlayment Selection:
- Choose an appropriate underlayment based on your subfloor and flooring type. Underlayment provides:
- Moisture barrier.
- Sound insulation.
- A smooth surface for the hardwood.
- Choose an appropriate underlayment based on your subfloor and flooring type. Underlayment provides:
- Layout Planning:
- Determine the direction of the planks. Typically, they run parallel to the longest wall or the direction of incoming light.
- Create a dry layout by arranging planks without securing them to visualize the pattern and identify potential issues.
2. Essential Tools and Materials:
- Hardwood Flooring: The star of the show.
- Underlayment: For moisture and sound control.
- Moisture Barrier: If your underlayment doesn’t have one.
- Flooring Nailer or Nail Gun: For nail-down installations.
- Construction Adhesive: For glue-down installations.
- Circular Saw or Miter Saw: For precise cuts.
- Measuring Tape, Pencil, and Chalk Line: For accurate measurements and marking.
- Level: To ensure a level floor.
- Tapping Block and Pull Bar: For tight plank connections.
- Spacers: To maintain expansion gaps.
- Hammer or Mallet: For gentle tapping.
- Safety Glasses and Ear Protection: For safety.
3. Installation Methods:
- Nail-Down Installation:
- Ideal for solid hardwood.
- Nails are driven at a 45-degree angle through the tongue of the plank.
- Requires a flooring nailer or nail gun.
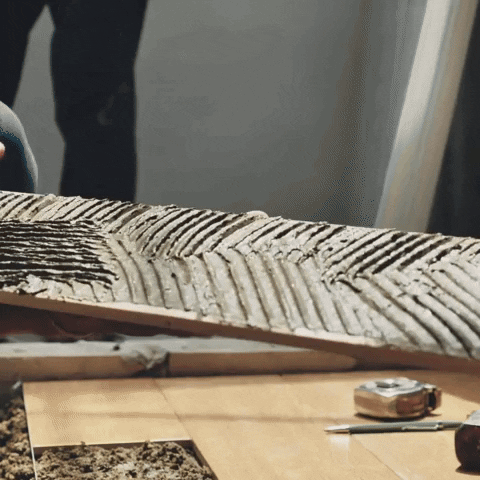
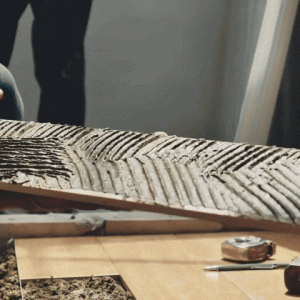
- Glue-Down Installation:
- Suitable for engineered hardwood and some solid hardwood.
- Construction adhesive is applied to the subfloor.
- Planks are placed onto the adhesive.
- Floating Installation:
- This method is more common with engineered hardwood, and laminate flooring.
- The planks are clicked together, and they float above the subfloor.
- This method is often considered the easiest for DIY’ers.
4. The Installation Process: Step-by-Step
- Starting the First Row:
- Begin along the straightest wall.
- Leave an expansion gap (1/4-inch to 1/2-inch) between the wall and the first row.
- Secure the planks using your chosen installation method.
- Ensure the first row is perfectly straight.
- Continuing the Installation:
- Stagger the end joints of planks in each row by at least 6 inches.
- Use a tapping block and mallet to create tight connections.
- Regularly check the alignment and level.
- Cut planks as needed, when approaching the end of rows.
- Working Around Obstacles:
- Carefully measure and cut planks to fit around door frames, pipes, and other obstacles.
- Use a jigsaw or coping saw for intricate cuts.
- Finishing the Last Row:
- You may need to rip (cut lengthwise) the last row to fit.
- Use a pull bar to carefully tap the last row into place.
- Maintain the expansion gap.
- Transition Pieces and Trim:
- Install transition pieces (T-moldings, reducers) where the hardwood meets other flooring types.
- Install baseboards and shoe molding to cover the expansion gaps along the walls.
5. Finishing Touches:
- Cleaning: Thoroughly clean the floor to remove dust and debris.
- Inspection: Inspect the floor for any imperfections and make necessary repairs.
- Curing: Allow the adhesive to cure completely before placing furniture (if using glue-down installation).
Key Considerations:
- Safety First: Always wear safety glasses and ear protection.
- Expansion Gaps are Essential: Do not skip the expansion gaps.
- Follow Manufacturer’s Instructions: Adhere to the specific instructions for your flooring product.
- When in Doubt, Seek Professional Help: If you’re uncomfortable with any part of the process, consult a professional.
By following this detailed guide, you can confidently tackle your hardwood floor installation project and create a beautiful and lasting addition to your home.