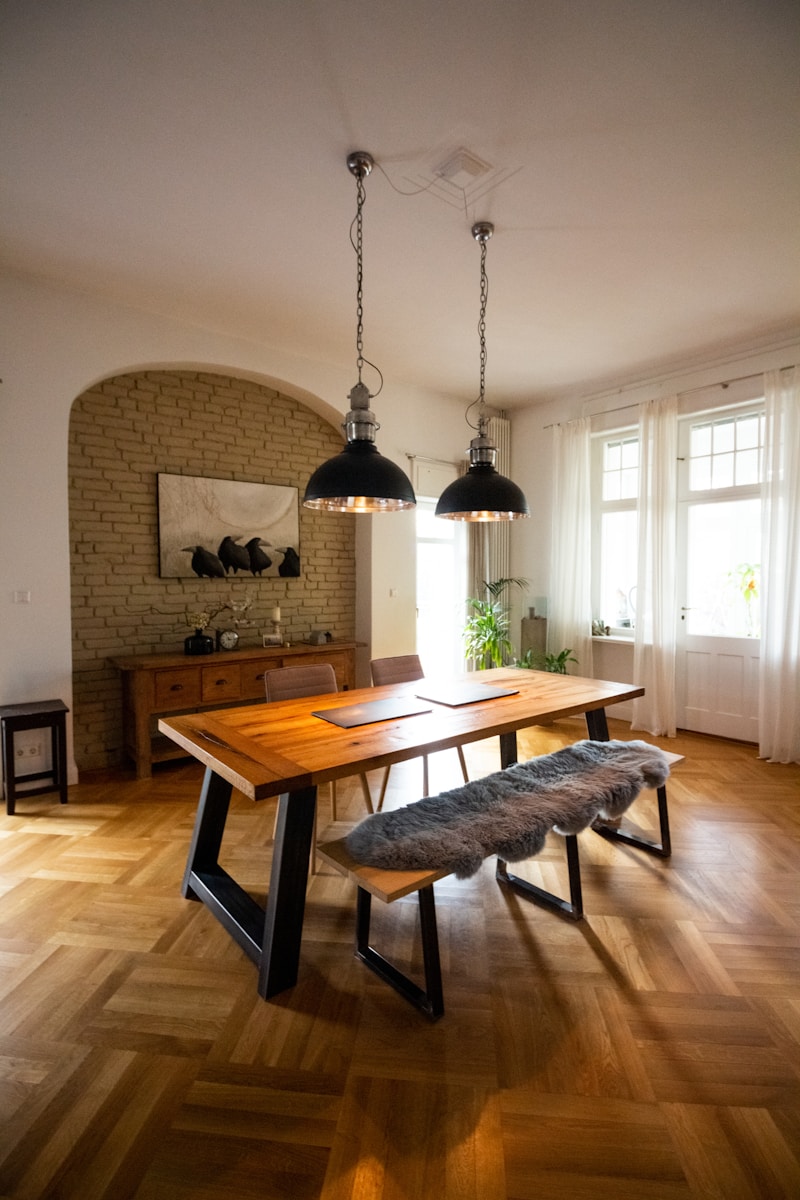
Hardwood floors, with their timeless beauty and warmth, are a prized feature in many homes. However, life happens, and spills, pet accidents, and other mishaps can leave unsightly stains.
Before you resign yourself to costly professional refinishing, explore the world of DIY stain removal. This comprehensive guide will equip you with the knowledge and techniques to tackle various hardwood stains effectively, restoring your floors to their former glory.
Understanding Hardwood Stains:
The key to successful stain removal lies in identifying the type of stain and the finish of your hardwood floors. Different stains require different approaches, and some finishes are more delicate than others.
- Water-Based Stains: These include spills from drinks, pet urine (when fresh), and watermarks. They often leave light or dark rings.
- Oil-Based Stains: Grease, cooking oil, and some cosmetics fall into this category. They tend to penetrate deeper and leave dark, greasy marks.
- Ink and Dye Stains: These can be challenging, especially on lighter woods.
- Pet Stains (Aged): Older pet stains can be particularly stubborn due to the chemical changes in the wood and the urine.
- Rust Stains: Metal objects left on the floor can leave rust marks.
- Tannin Stains: These are dark stains caused by reactions between moisture and the tannins in certain woods.
Essential Tools and Materials:
Before you begin, gather the following supplies:
- Soft cloths or rags (microfiber is ideal)
- Paper towels
- Mild dish soap
- White vinegar
- Baking soda
- Hydrogen peroxide (3%)
- Mineral spirits
- Oxalic acid (for rust or tannin stains, use with caution)
- Fine steel wool (0000 grade)
- Putty knife or scraper
- Clean water
- Eye protection and gloves (especially when using chemicals)
General Stain Removal Techniques:
- Blot, Don’t Rub: Always blot stains with a clean cloth or paper towel to prevent spreading.
- Start Mild: Begin with the gentlest cleaning solutions and gradually increase their strength if necessary.
- Test in an Inconspicuous Area: Before applying any solution to a visible stain, test it on a hidden area of the floor to ensure it doesn’t damage the finish.
- Work with the Grain: When scrubbing or wiping, follow the grain of the wood to avoid scratching.
- Dry Thoroughly: After cleaning, dry the area completely to prevent water damage.
Specific Stain Removal Methods:
-
Water-Based Stains:
- For fresh spills, blot immediately with a dry cloth.
- For older watermarks, mix equal parts white vinegar and water. Dampen a cloth with the solution and gently rub the stain.
- For stubborn watermarks, create a paste of baking soda and water. Apply it to the stain, let it sit for a few hours, and then wipe it away.
-
Oil-Based Stains:
- Sprinkle baking soda or cornstarch on the stain to absorb the oil. Let it sit for several hours or overnight, then vacuum or wipe it away.
- For remaining residue, dampen a cloth with mild dish soap and water. Gently clean the area.
- For very stubborn oil stains, mineral spirits can be used, but with extreme caution, and ventilation.
-
Ink and Dye Stains:
- Dab the stain with rubbing alcohol or hydrogen peroxide (3%) on a clean cloth.
- For persistent stains, a paste of baking soda and water may help.
-
Pet Stains (Aged):
- Hydrogen peroxide (3%) can help lighten the stain. Apply it to the stain, let it sit for a few hours, and then wipe it away.
- Enzyme cleaners designed for pet stains can be very effective. Ensure they are safe for hardwood.
- In severe cases, sanding and refinishing may be required.
-
Rust Stains:
- Oxalic acid is effective for rust stains, but it’s a strong chemical. Use it with extreme caution, following the manufacturer’s instructions.
- A paste of lemon juice and salt can sometimes help with lighter rust stains.
-
Tannin Stains:
- Oxalic acid is the recommended solution. Test in an inconspicuous area first.
Sanding and Refinishing (Last Resort):
If DIY stain removal methods fail, sanding and refinishing may be necessary. This process involves:
- Sanding the affected area or the entire floor to remove the stain and the existing finish.
- Applying a new stain (if desired) and a protective finish.
Amazon Product Recommendations:
-
Bona Hardwood Floor Cleaner Refill, 128 oz:
- “This pH-neutral cleaner is designed specifically for hardwood floors, making it safe and effective for everyday cleaning and stain removal. Its streak-free formula leaves floors looking beautiful. It is very useful for cleaning up fresh spills.”
- Bona Hardwood Floor Care Kit
-
HOPPE’S No. 9 Solvent, 4-Ounce Bottle:
- “This is a great product for oil based stains, and other hard to clean stains. You must use this product with extreme caution, and with proper ventilation. It works well to remove deep set stains. Test in an inconspicuous area first.”
- Hoppe’s No. 9 Gun Bore Cleaner
Prevention Tips:
- Place mats and rugs in high-traffic areas.
- Clean spills immediately.
- Use furniture pads to prevent scratches and dents.
- Trim pet nails regularly.
- Avoid wearing shoes with sharp heels on hardwood floors.
- Maintain proper humidity levels in your home.
Conclusion:
Removing hardwood stains DIY can be a rewarding and cost-effective way to maintain the beauty of your floors. By understanding the type of stain, using the appropriate cleaning methods, and taking preventative measures, you can keep your hardwood floors looking their best for years to come.
Remember to always test solutions in an inconspicuous area and proceed with caution, especially when using chemicals.
